Building custom home is huge investment. Every detail matters. Most builders we work with learned hard way, they hired cheapest house painters, figured “paint is paint,” then dealt with callbacks and complaints that never ended.
We specialize in custom home painting for new construction across GTA. Work with homeowners and general contractors who need dependable painters that won’t mess up their schedule. Been doing this long enough to know what new builds need – proper surface prep, right products, finishes that last.
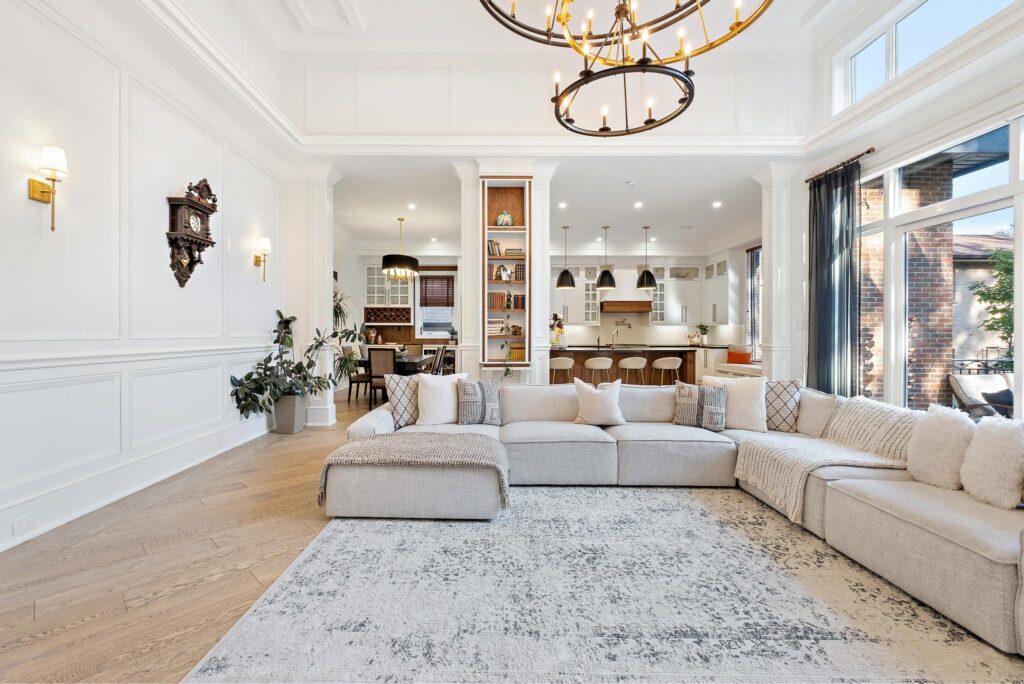
Our custom house painters have seen everything. Fresh drywall, cathedral ceilings, complicated trim work, high-end finishes. We sand between coats, use quality materials, coordinate with other trades so nobody holds up the project.
The Three Stages of Custom Home Painting
Custom home painting isn’t like repainting existing house. Different beast completely. Different timeline, different challenges, way more coordination needed. We don’t just show up day one and start rolling paint on walls. We coordinate with builder, carpenters, tapers etc. Got a system that works, delivers professional results every single time. Here’s how we do it from start to finish:
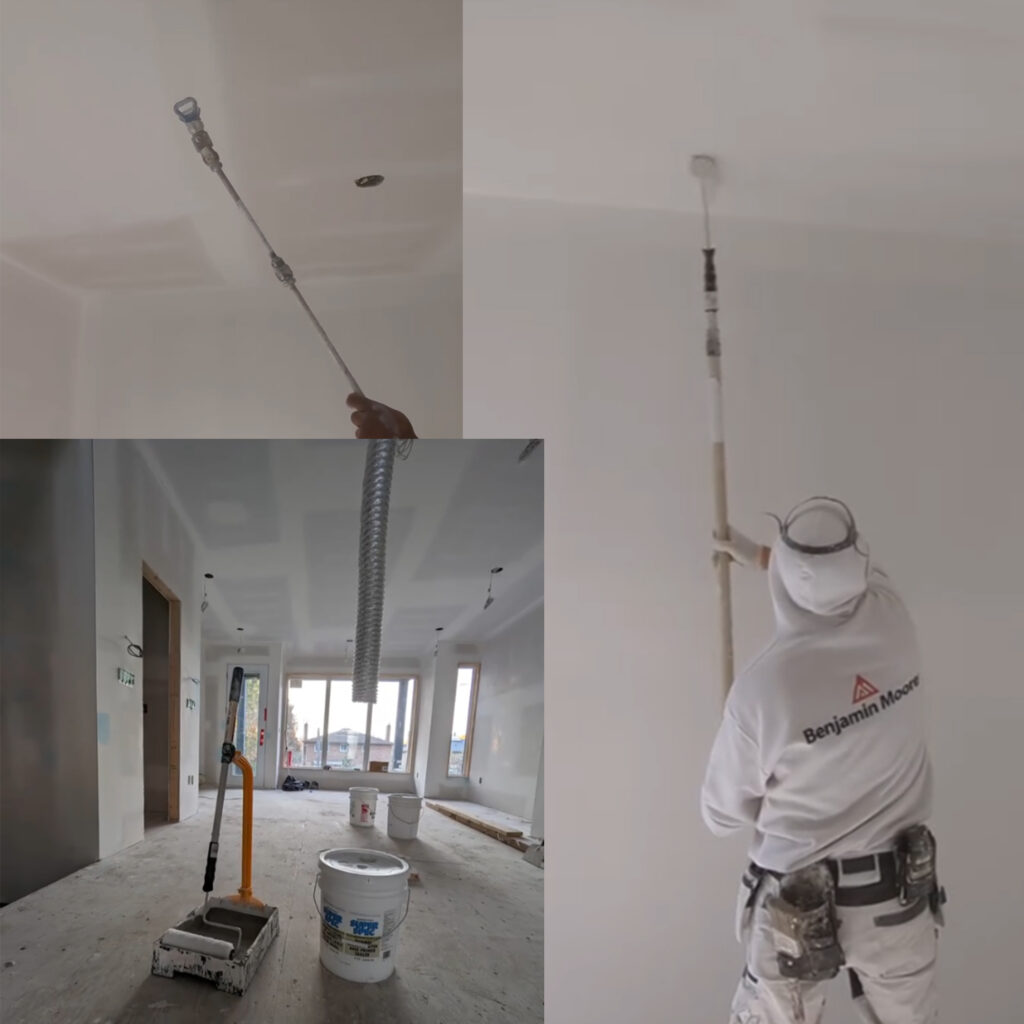
Drywall Priming
After drywall’s taped and finished, we prime everything. Spray and backroll ceilings for even coverage. Roll walls only – no spraying. Why? House is still dusty construction zone. Sprayed walls catch all that dust, feel rough. Rolling’s cleaner, faster, needs way less masking. Best balance between speed and quality.
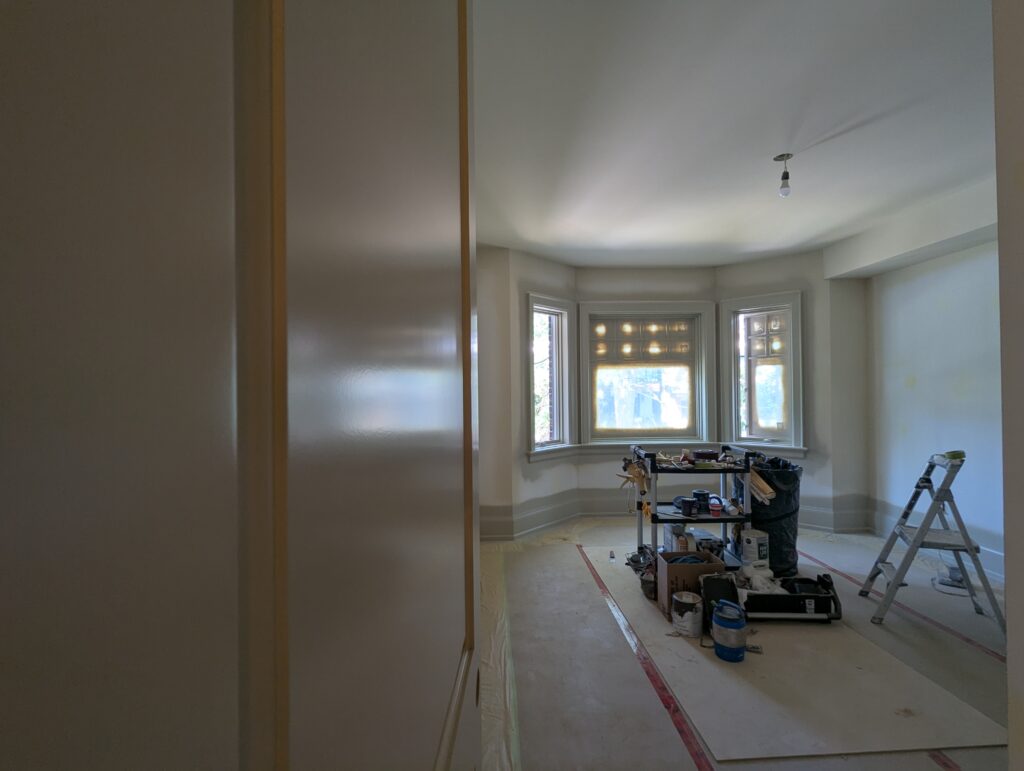
Initial Painting
When we show up for initial painting, we expect tiles and carpentry done. Ideally flooring’s in, vanities installed, kitchen cabinets up. This way other trades won’t mess up fresh paint after we’re done. Job site needs to be clear of tools, other people, big materials. Should be reasonably clean before we start.
Initial painting has four parts – preparation, spray painting, walls painting, and cleanup.
Preparations
Patch all nail holes, repair damage on trim and doors. Caulk every gap between woodwork and walls – hundreds of spots. Protect tiles, windows, floors from overspray. Can’t rush prep.
Spray Painting
Spray primer on all woodwork, sand smooth. Second primer coat, sand again. Two finish coats, sanding between each. Four rounds total. Makes trim glass-smooth. Spray all doors, both sides and edges.
Walls Painting, and Clean-Up
Sand walls lightly, roll first coat. Second coat, sand for smooth finish. Remove all protection, clean windows and floors. Accent walls and color changes get crisp lines, no bleeding.

Paint Touch Ups
After all trades finish, plumbers, electricians, countertop installers, we come back for touch-ups. Fix any damages from their work. Usually takes 2-4 days depending on how many trades came through and how careful they were.
Touch up scuffs on walls, fix scratched trim, repaint damaged areas. If we’re staining stairs, this is perfect time since no more foot traffic. Final walkthrough with homeowner or builder, make sure everything’s perfect.
Getting Started
Looking for a quote on your custom home painting project?
Just visit our contact form and send us your drawings along with any specific details. That’s usually enough for us to give you a basic price estimate. Or if you’d prefer to meet in person, that works too, just let us know!
Looking forward to hearing from you!
FAQs
Recent Custom Home Painting Projects


Related: Custom Home Painting Gallery