Vaughan’s building boom from the 90s and 2000s left thousands of homes with popcorn ceilings. Walk through any Woodbridge neighborhood or Maple subdivision and you’ll spot them – those textured ceilings that scream “builder grade.” Last month, a homeowner in Concord called us after getting three quotes. Everyone else wanted to just paint over the texture. “That’s not a fix,” he said. “I want it gone.” Smart guy.
Here’s what we’ve learned doing popcorn ceiling removal across Vaughan for the past decade: most homes have painted popcorn, not the unpainted kind. That matters. Unpainted texture scrapes off relatively easy with proper equipment. But painted popcorn? That’s welded on there. Previous owners rolled latex paint right over the bumps, sealing everything solid. Different job entirely. We use dustless sanding systems because traditional wet-scraping creates a disaster zone.
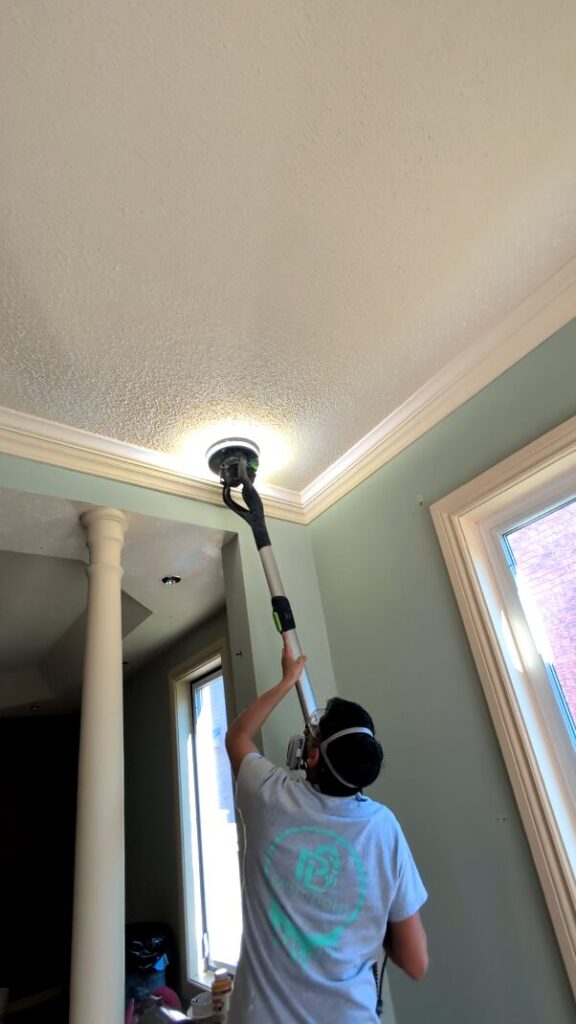
Sanding Popcorn with Dustless System – The Game Changer
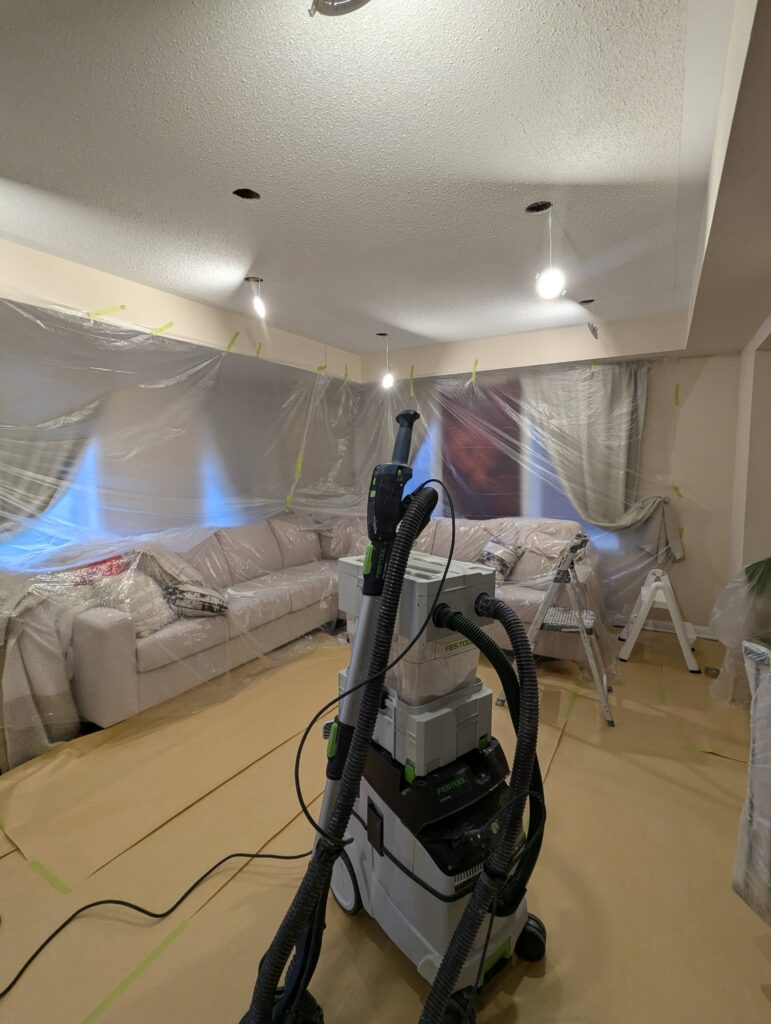
Remember when your neighbor tried removing their popcorn ceiling and their whole house looked like flour bomb went off? That’s why we invested in professional dustless sanding equipment. Not some shop-vac taped to a sander, we’re talking HEPA-filtered systems that capture 85% of dust particles before they hit the air.
Our dustless setup connects directly to specialized sanders that eat through both painted and unpainted popcorn texture. Vacuum system creates negative pressure, pulls every particle straight into containment. We’ve done entire popcorn ceiling removal jobs in occupied homes where homeowners kept working from their home office one room over.
The sander powers through painted texture like it’s nothing. Leaves uniform surface ready for next step. No gouges like hand scraping.
Popcorn Ceiling Removal Process
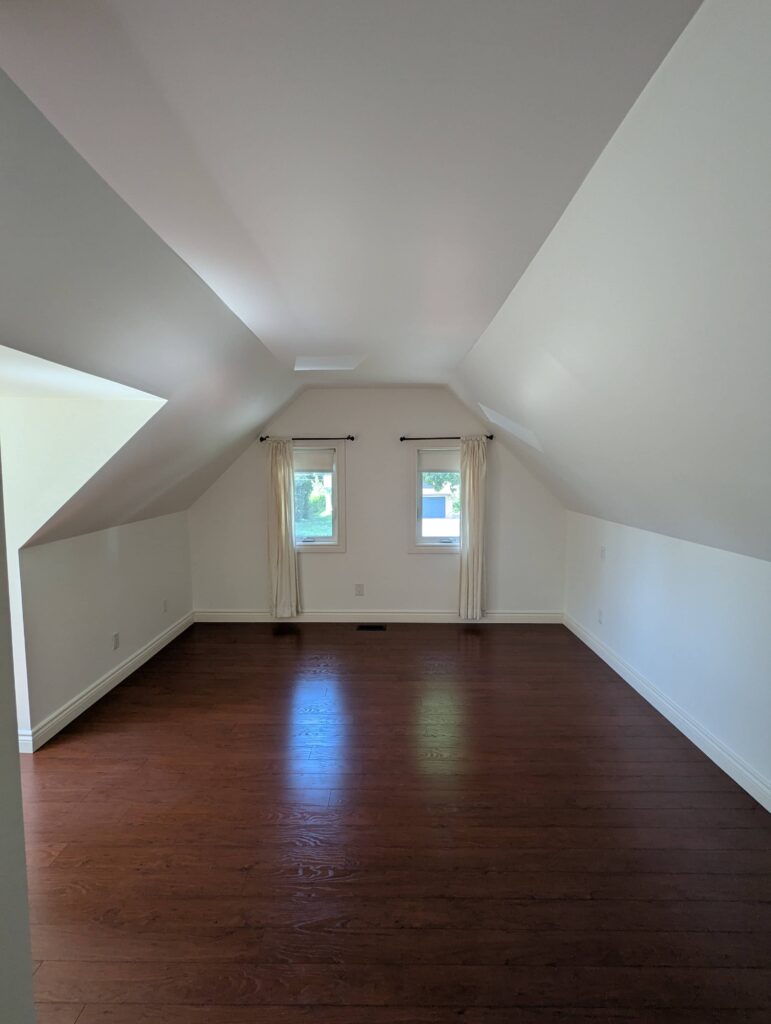
Our Latest Projects
Before
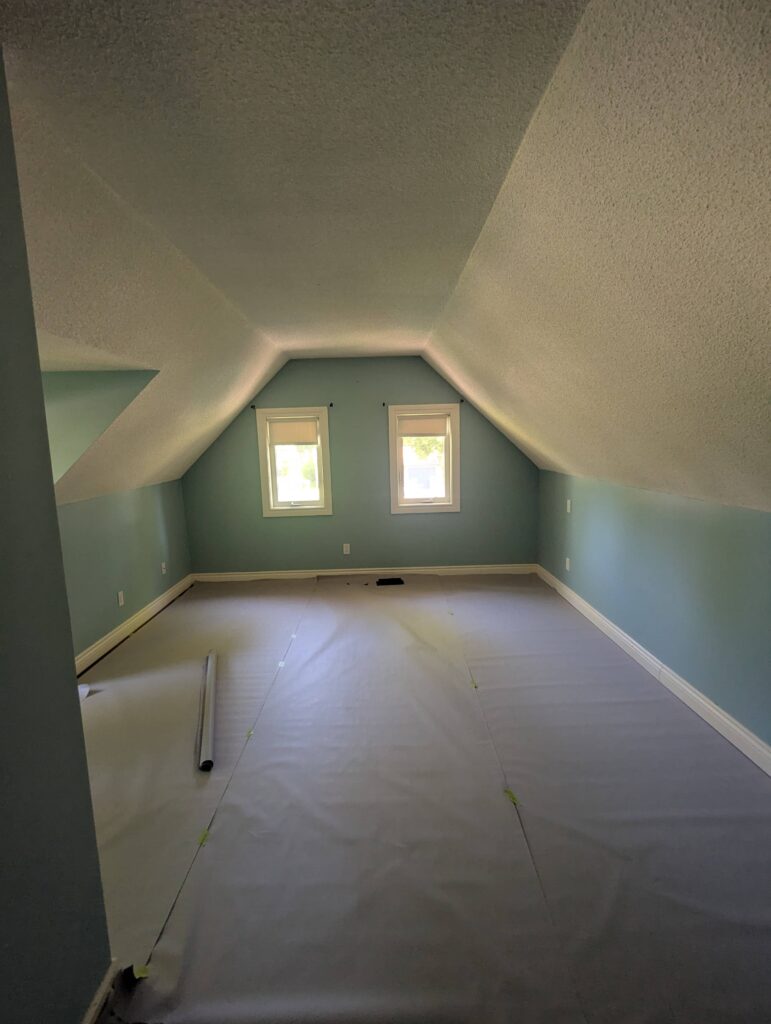
After